

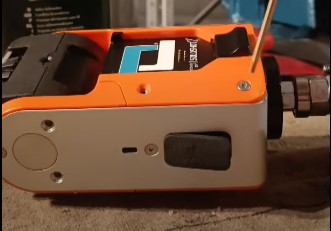


3.Bend out the tilt motor house
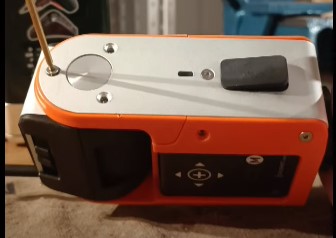
4.Lift the orange lids on both sides to locate the two 3.7lipo batteries.

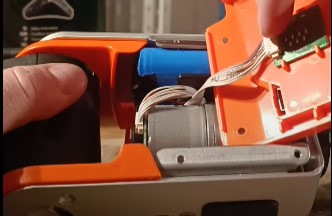

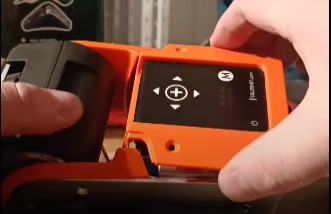
5.Disconnect this cable to remove lid
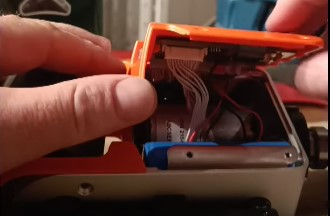
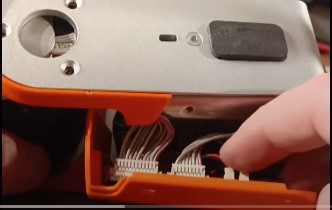
6.Disconnect these two cabels before you can take out the batteries
Now you can take out the two batteries and replace them. Often you can also repair empty LIPO batteries by charge them for some minutes in NIMH or NICD modus on you computer charger, then switch over to LIPO charging for some minutes. After you have 3.8v in the battery, you can insert them again and charge with the original charger. I did this for the base batteries and it worked 100%

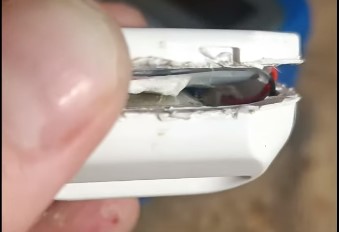

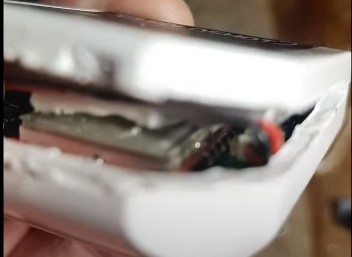
1.Get ready a thin knife blade and a small heat touch.
2.Heat up the blade and slice up the tag. Be careful not to cut the battery and cables
Repair Soloshot Tag

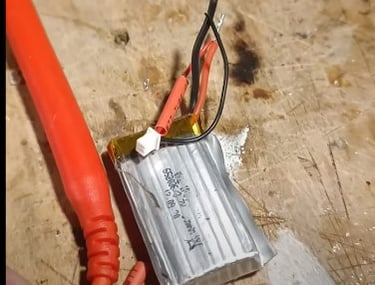
3.Disconnect connector and remove battery
4.Replace the 3.7v LIPO battery or you can try to fix it like described for the base batteries.


5.Insert a fixed/new battery or just cut off the battery connector and solder it to new cables as I did. Now I have the battery outside of the TAG. Then you glue the TAG and seal the cut with silicone. I used Tec7
6.Now the TAG is working 100%. First one red solid light, and after 8 minutes outdoor it switched over to a flashing red light.
How To Fix Soloshot 2 Base And Tag - Soloshot Issues - Soloshot Repair - Soloshot Doesn't Work
In this instructional video, we will guide you through the process of reviving your Soloshot 2 base and tag. These devices had been sitting idle in my basement for a whopping 7 years, and when I finally decided to use them, they were completely unresponsive. I attempted to recharge both the base and tag, but their batteries seemed beyond resuscitation. Determined to bring them back to life, I embarked on a repair journey.
Reviving the Base: I began by opening up the base and removing the seemingly lifeless batteries. After an initial attempt with NIMH charging for about a minute, I switched to LIPO charging. Each battery received a 100mAh boost before I carefully reinstalled them into the base. This rejuvenation process allowed me to use the standard USB charging port, bringing the base back to functionality.
Recovering the Tag: The tag was in a similarly dire state. I used a precision knife and heated it to slice open the tag, revealing the damaged battery inside. It was clear that the existing battery was beyond repair, prompting me to replace it with a fresh one. As a last-minute improvement, I decided to remove the battery entirely and solder a connector, allowing for an external battery connection. This modification proved to be a 100% success!
